When is the best time of year to lay fescue sod? The best time of year to lay down fescue sod is early fall. This is because the weather is still warm. The days are getting shorter. This will allow the grass will have enough time to root before winter sets in. Tall Fescue grass is a cool-season grass that matures quickly in the fall.
When Should I Lay Fescue Sod?
Tall Fescue sod is great for elite golf courses, universities, and hotels are perfect for fine residential lawns, big business landscaping, medians and roadways, and public areas. It is drought-tolerant and can withstand a moderate amount of wear. Fescue sod is green year-round and will keep your lawn looking great.
Laying Fescue Sod
The best time to lay sod is in the late summer or early fall when the temperatures are still warm but the days are getting shorter. This gives the grass enough time to establish a strong root system before winter.
If you live in a colder climate, you may need to wait until late summer or early fall to lay sod.
You can lay sod at any point between spring and fall; however, the temperature must be warm enough for establishment. Be careful if it’s too cold, the grass will just sit on top of the soil and rot.
Early Fall is that sweet spot for grass. Generally, there is more rain and cooler temps than the hotter months of summer, but it’s still warm enough to ensure good root growth. And if there is a frost or two, most cool-season grasses will be just fine.
Fall Preparation
If you are planning to lay sod in the fall, you should prepare your lawn by aerating and fertilizing it in late summer. This will help the grass establish a strong root system and prepare it for the cold winter weather.
You may also need to mow your lawn shorter in the fall so that the new sod has enough room to grow.
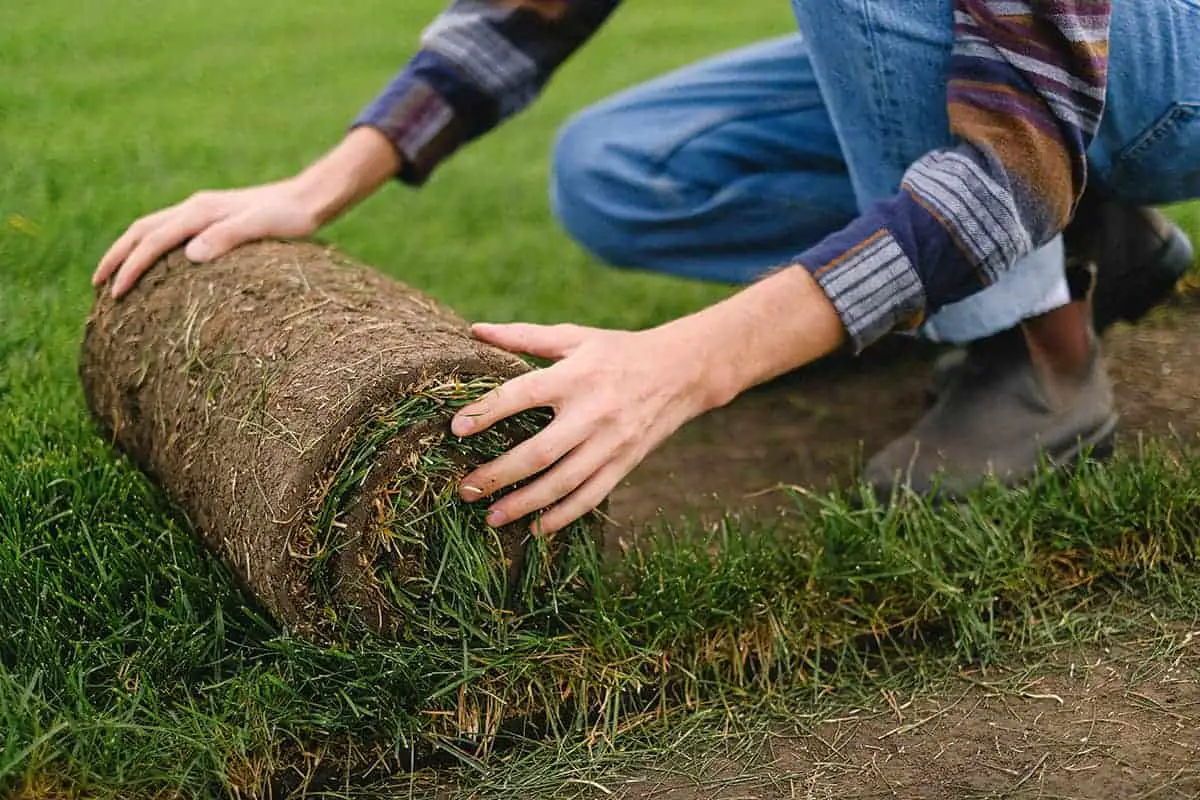
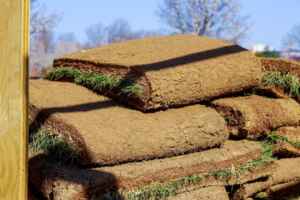
Figure out the size of your lawn and how much sod you will need. Most sod comes in rolls that are 2 feet wide and either 10 or 20 feet long. You can also buy smaller squares of sod if you only need to cover a small area.
What Supplies Tools Are Needed To Prepare The Ground?
To prepare the ground for sod, you will need a shovel, rake, and wheelbarrow. An aerator can also help prepare the ground for sod. You will also need a soil amendment such as compost or peat moss to improve the quality of your soil.
This needs to be added to the lawn about a week before you lay the sod. You can rent an aerator from a home improvement store. Spread compost over your lawn and rake it into the soil to a depth of 1 inch. Raking will break up any clumps and help the compost penetrate the ground.
Water your lawn thoroughly before starting to lay sod. However, do not water for 24 hours before laying sod so that there is not too much moisture in the soil.
Preparing The Lawn In The Fall
Remove any objects (rocks, sticks, etc.) from the area where you will be laying the sod. Use a shovel to turn over the top layer of soil. Dig down about 6 inches and loosen the soil with a rake.
Add a soil amendment to the soil, such as compost or peat moss, and rake it in. Water the area well and let it soak in.
How to Lay Sod In The Fall?
Once you have prepared your lawn, it is time to lay the sod. Here are the steps:
Double Check For Debris
You need to remove any weeds or debris from the area where you will be laying the sod. Make sure you have a sufficient amount of soil amendment. The sod rolls should be kept in the shade to keep them from drying out.
Smooth Surfaces
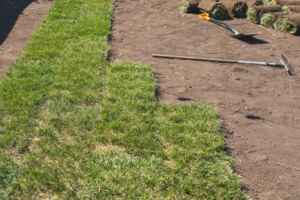
Use a rake to smooth out the soil and create a level surface. You can also use a roller to compact the soil. If you are using a soil amendment, make sure it is evenly distributed.
Cut Sod Into Strips
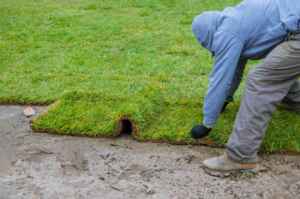
To begin laying the sod, unroll one row of sod so it is flush with one side of your lawn. Use a shovel to cut away any extra pieces on the other side.
Cut the sod into strips that are about 2 feet wide and lay them in rows. Make sure that the seams between the strips are offset, and tamp them down gently with your foot.
Layout all of your rows so they are close together but not overlapping each other. Make sure that there are even spaces between them and that they are level with each other.
Use a shovel to make small cuts in the sod along your lawn’s edges or any other areas that need extra attention or where there is not enough room for two rows of sod. This will allow you to trim off pieces as needed and make them fit properly.
Once all of your sod is laid, cut the sod strips along the edges of your lawn so that they line up with other pieces.
Feed The Grass
Water the sod well and keep it moist until it is fully established. It usually takes about two weeks for new sod to become fully rooted. During this time, you should avoid walking on it or driving over it.
You may also need to mow it a few times until it becomes fully established. Adding soil amendments is also recommended at this time.
This is a crucial time for the grass. no one needs to walk on the grass for at least two weeks, and it must be kept moist.
Continue adding water and soil amendments until rainfall begins to restore the nutrients in the soil. It may take 2-3 months depending on your climate. This is why adding sod in early fall or the end of summer is important.
Maintaining Fresh Fescue Through Fall And Winter
After the grass has been laid and the cooler weather arrives, you need to begin maintaining your new lawn. This will help it to grow strong and healthy throughout the entire fall and winter months, all while preventing weeds from popping up in your lawn.
Here are some tips for keeping your new sod healthy:
- It is best to recommend that you do not fertilize the sod until a couple of months after the fall and that you do not mow it until spring.
- Keep the grass short by mowing at least twice per week during the warmer months of spring and summer.
- Do not fertilize your new sod during the fall or winter months because it may burn the grass and cause weakness that will attract weeds.
- Only use fertilizer on your lawn when spring arrives, even if you are seeing green shoots popping up in your yard now.
- While minor weed infestations are usually tolerable, make sure to remove them before they spread because it will be much harder to get rid of weeds in the spring months.
- Make sure you have a good weed-killing plan in place for when winter is over and you can begin caring for your lawn again.
- If your new grass is showing signs of weakness or disease, make a point to call a professional and ask about their fertilizing and pest-control plans.
What Is Needed To Protect The Young Grass During The Winter?
One of the most important things you can do to protect your new sod during the winter months is to make sure that the ground does not freeze.
Insulate The Grass
This can be done by using a landscape fabric or straw mulch. The mulch will help to insulate the soil and keep it from freezing.
Proper Separation From Sod and Soil
Make sure that there is a proper separation between the sod and soil. This can be done by using landscape fabric or straw mulch. The mulch will help to keep the soil from freezing and will also help to protect the sod from cold weather damage.
Your lawn should have some protection plan in place throughout the entire year so that it can grow strong and healthy. If you live in an area with especially cold winters, it is important to take additional steps to protect your new sod.
Speak with a professional to protect your lawn during the winter. A well-established landscaper can make sure that your grass will not die during these upcoming colder months. A professional landscaper can help you with inspecting, maintaining, and protecting your lawn all year long.
 Conclusion
These are the basics of what you need to know when it comes to laying fescue sod. By following these tips, you can ensure that your new lawn will be healthy and beautiful all year long. As with any project, there will be more details that you should investigate before beginning the process.
However, if you keep these simple steps in mind, your new lawn will become a beautiful addition to your property and last for many years.


