Springtime Prep for Garden Beds
Gardening is both an art and a science, requiring attention to detail and a deep understanding of the environment. From the health of the soil to the vigor of your plants, each element plays a crucial role in cultivating thriving garden beds.
Soil Testing and Amendment
Conducting a soil test can reveal crucial details about the pH levels and nutrient content of your garden soil. By understanding what’s absent, you can determine what to add for the best growth results.
Home-test kits are readily available at local gardening centers, or you can send a sample of your soil to your county for a more comprehensive analysis.
Once you have the test results, you can tailor your soil amendments precisely. If your soil test indicates a deficiency in nitrogen, phosphorus, or potassium, including specific amendments like a bone meal for phosphorus or greensand for potassium, can correct these shortcomings.
Managing soil pH is essential as it influences how plants absorb nutrients. For most garden vegetables, a slightly acidic to neutral pH (about 6.0 to 7.0) is ideal. If your soil is too acidic, incorporating limestone can help raise the pH. If your soil is too alkaline, sulfur additions can reduce the pH to more acceptable levels.
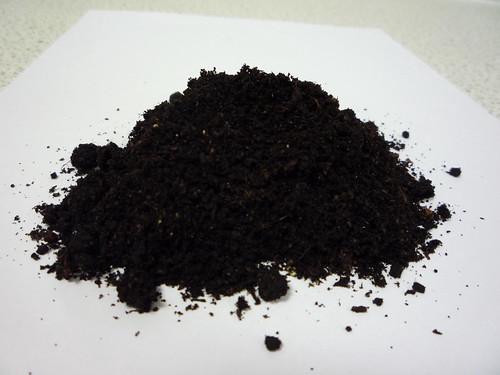
Integrating organic matter into your garden beds is beneficial. Incorporating materials such as well-rotted manure, compost, or leaf mold improves soil structure, boosts fertility, and enhances moisture retention capabilities. These organics decompose underground, encouraging beneficial microorganisms that aid plant growth.
Committing to routine soil testing annually or bi-annually helps in keeping your soil conditions optimal as changes in nutrient levels and pH can occur over time and after different growing cycles.

Mulching and Weed Management for Garden Beds
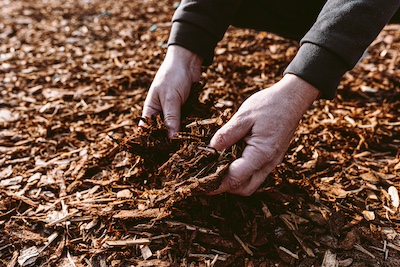
Mulching preserves your garden’s appearance and enhances its health. By applying a layer of mulch over your soil, you can achieve more efficient water conservation, improved soil temperature regulation, and weed control—nurturing a cleaner and more productive garden environment.
Select an organic mulch that meshes well with the overall needs and aesthetic of your garden. Options like bark chips, straw, or grass clippings provide their unique benefits. For instance, bark mulch is excellent for moisture retention while straw might decompose quicker, adding more nutrients back to the soil.
To apply mulch:
- Choose Your Mulch: Select a mulch that compliments your plant’s water, nutrient, and aesthetic needs.
- Prepare the Garden Beds: Clear any debris, weeds or old mulch from the area.
- Apply the Mulch: Spread your chosen mulch layer around 2-3 inches thick throughout the garden bed. Avoid piling mulch against plant stems to prevent rot.
- Water Lightly: Give the mulch a gentle watering to settle it into place.
- Monitor and Maintain: Replenish the mulch as it decomposes or gets displaced, ensuring a consistent protective layer.

In tandem with effective mulching, managing weed growth is crucial. A properly applied mulch naturally suppresses weeds by blocking their access to sunlight. For added control:
- Regular Inspection: Routinely walk through your garden, scanning for early signs of weeds. Early detection makes removal easier.
- Hand Weeding: For weeds that sneak through, hand-pulling is often the most straightforward method of removal. Doing so right after a rain when the soil is soft makes the task easier.
- Use of Weed Barriers: In problematic areas, consider a weed barrier like landscape fabric under your mulch to further prevent weed incursions.
Repair and Prepare Garden Infrastructure
Winter’s effects can take a toll on your garden infrastructure, from cracking the wood of raised beds to damaging gardening tools. Mitigating these effects before the spring season is essential. Here are practical steps to ensure your raised beds and garden tools are repaired and primed for use when planting season begins.
Inspect and Repair Raised Garden Beds
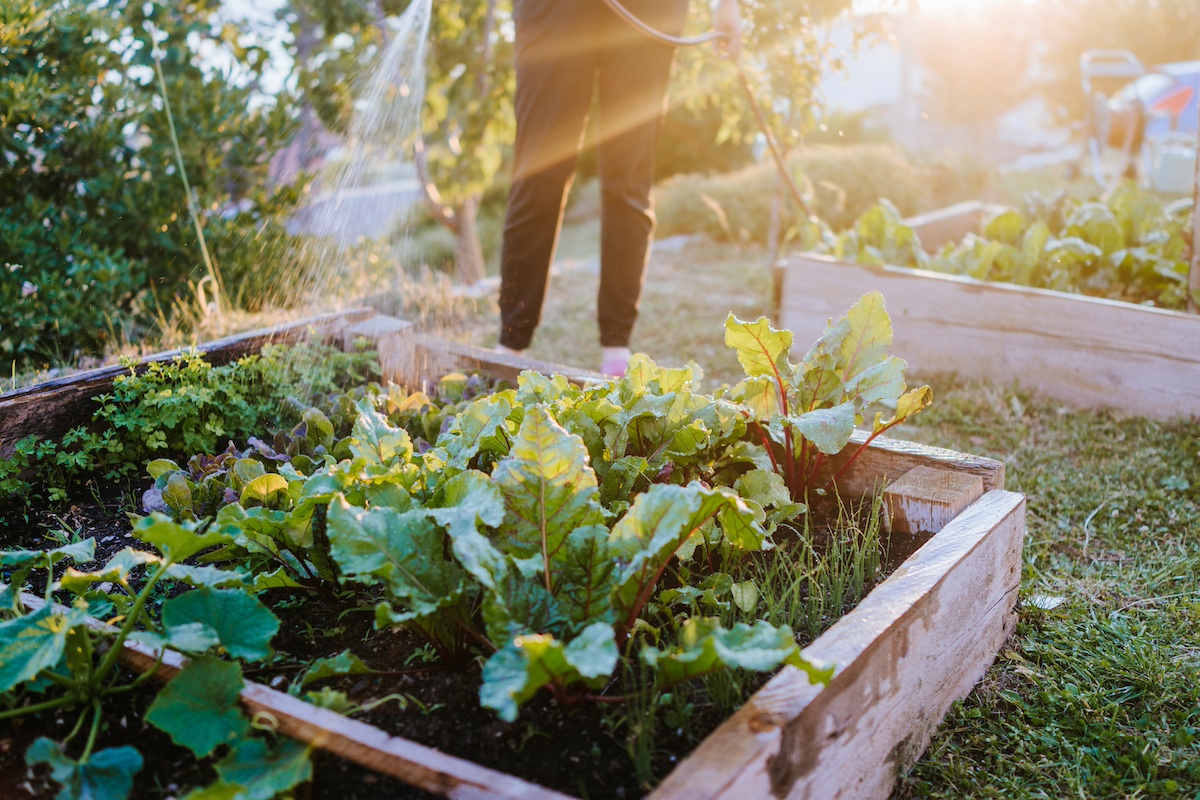
Inspect your raised garden beds for any damage. If you notice any bowing or breaks, it might be necessary to replace sections of the wood or tighten up the joints. Here are the steps:
- Visual Inspection: Assess all aspects of each bed – check for loosening of any screws or fixtures and signs of wood rot or fungal growth.
- Reinforce Structures: For beds that show signs of weakening, reinforce with additional wooden stakes or corner braces. This helps stabilize the structure.
- Wood Treatment: To prolong their life and protect against weathering, treat wooden components with a non-toxic wood preservative.
- Joint Securement: Check all joints and tighten any loosened screws or bolts. If there are broken parts, consider replacing them or mend with wood glue and additional screws.
Preparing Your Tools and Irrigation Systems
Tools left unchecked can rust or degrade, making them ineffective when you most need them. Similarly, testing your irrigation system ensures you’re not caught off guard by malfunctioning equipment when it’s time to water your plants.
- Clean and Sharpen Tools: Clean off any dirt or rust on your gardening tools using soapy water and a stiff brush, then dry them thoroughly. Sharpen edges of hoes, spades, and pruners to ensure clean cuts that won’t harm plants.
- Handle Repairs: Make sure that the handles of your tools are secure—tighten any loose screws and replace cracked or broken handles. Add a fresh coat of linseed oil to wooden handles to protect them from moisture and rot.
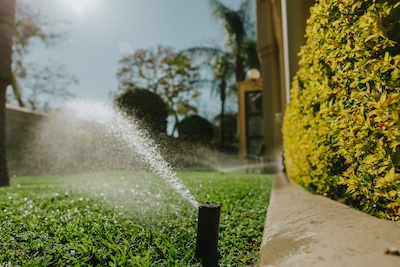
- Test Irrigation System: Evaluate all elements of your irrigation system for leaks, clogged nozzles, or dysfunctional timers. Make interventions as replacing washed-out hoses or broken sprinkler heads before watering becomes critical.

Having reinstated solid structures and reliable tools, you ensure that your garden’s foundation is robust enough to support another season’s growth.

